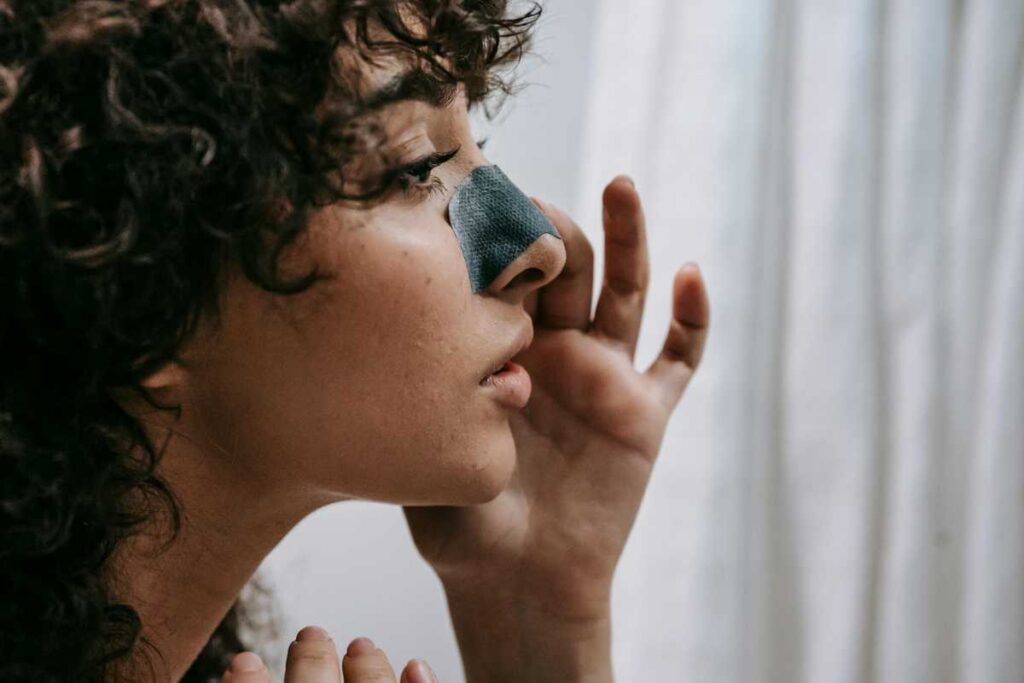
1. Why Choose Homemade Pore Strips?
Benefits of Homemade Pore Strips
- Natural Ingredients: Avoid harsh chemicals found in many commercial products.
- Cost-Effective: Save money by using items you likely already have at home.
- Customizable: Tailor the recipe to your skin type, whether oily, dry, or sensitive.
2. What You’ll Need
Ingredients
- Unflavored Gelatin: Acts as the main ingredient to help the strips adhere to your skin.
- Milk: Helps to nourish the skin and improve the adhesion of the gelatin.
- Optional: Honey for its antibacterial properties or tea tree oil for acne-fighting benefits.
Tools
- A small bowl
- A spoon for mixing
- A microwave-safe container
- A brush or spatula for application
3. Step-by-Step Instructions
Creating Your Pore Strip Mixture
- Combine Ingredients: In a small bowl, mix 1 tablespoon of unflavored gelatin with 2 tablespoons of milk. If using, add 1 teaspoon of honey or a few drops of tea tree oil.
- Mix Well: Stir the mixture until the gelatin is fully dissolved and the ingredients are well combined.
- Heat the Mixture: Microwave the bowl for about 10-15 seconds. The mixture should be warm but not boiling. Stir again to ensure everything is well blended.
4. How to Apply the Pore Strips

Preparing Your Skin
- Cleanse Your Face: Start with a clean face by washing with a gentle cleanser to remove dirt, makeup, and oils.
- Open Your Pores: For best results, you can steam your face for a few minutes or apply a warm, damp towel to open your pores.
Applying the Mixture
- Apply Evenly: Using a brush or spatula, apply a thin layer of the gelatin mixture to the areas you want to treat, typically the nose, forehead, or chin.
- Let It Dry: Allow the mixture to dry completely, which usually takes about 15-20 minutes. You’ll know it’s ready when it feels firm and no longer sticky.
5. Removing the Pore Strips
How to Take Off the Strips
- Peel Gently: Start at one edge and slowly peel the strip away from your skin. Pull gently to minimize discomfort.
- Rinse: After removal, rinse your face with cool water to remove any leftover residue and soothe your skin.
6. Post-Application Care
Moisturize
- After using pore strips, it’s essential to apply a moisturizer to keep your skin hydrated and balanced.
7. Frequency of Use
How Often to Use
- Limit the use of homemade pore strips to once a week to avoid irritating your skin. Overuse can lead to dryness or redness.
8. Store Leftover Mixture
How to Store
- If you have leftover mixture, you can store it in an airtight container in the refrigerator for up to a week. Reheat in the microwave before use.
Conclusion
Creating your own pore strips at home is a simple, fun, and effective way to tackle blackheads and maintain clear skin. By using natural ingredients, you can avoid the harsh chemicals found in many store-bought options. With just a few ingredients and some easy steps, you’ll have your very own DIY pore strips ready to use. Enjoy your clearer, healthier skin!

