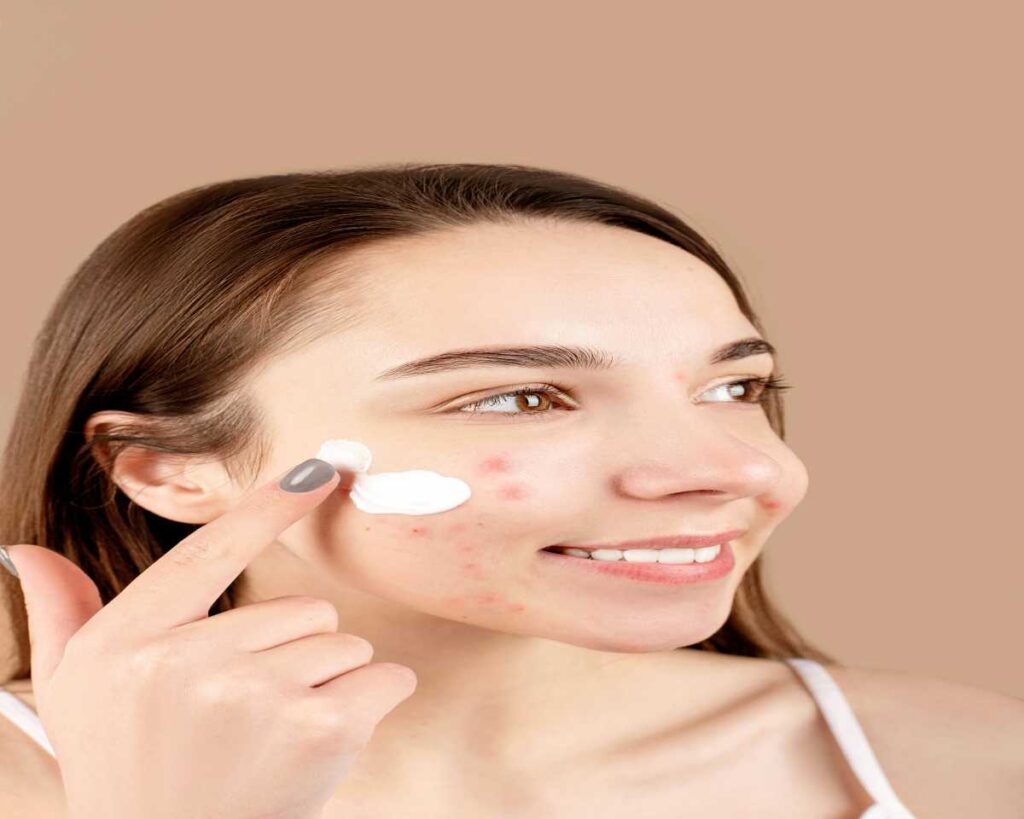
The Benefits of Charcoal Soap for Skin

In recent years, activated charcoal has made waves in the beauty industry, and one product that has gained particular attention is charcoal soap. This dark, unassuming bar may seem simple, but it offers numerous benefits for your skin. Let’s explore why charcoal soap is worth incorporating into your daily skincare regimen.

1. Deep Cleansing and Detoxification

Activated charcoal is renowned for its deep cleansing abilities. Its porous structure allows it to draw out dirt, oil, toxins, and impurities from the skin. Charcoal soap works like a magnet, binding to debris and pulling it away from the pores, leaving your skin feeling clean, fresh, and rejuvenated. This makes it especially useful for those with oily or acne-prone skin, where excess sebum and impurities can clog pores and lead to breakouts.

2. Exfoliation Without Irritation

Charcoal soap acts as a mild exfoliant, gently removing dead skin cells without causing irritation. This helps to smoothen your skin’s texture and promote a brighter complexion. Unlike harsh chemical exfoliants, charcoal soap is gentle enough for everyday use while still effectively sloughing away dead skin cells, dirt, and grime.

3. Balancing Oily Skin

One of the biggest benefits of charcoal soap is its ability to absorb excess oil. If you have oily skin or tend to get shiny throughout the day, this soap can help reduce oil buildup without stripping your skin of its natural moisture. It balances the skin’s oil production, ensuring that your skin stays hydrated but not overly greasy, which can also help minimize the appearance of pores.

4. Acne-Fighting Properties

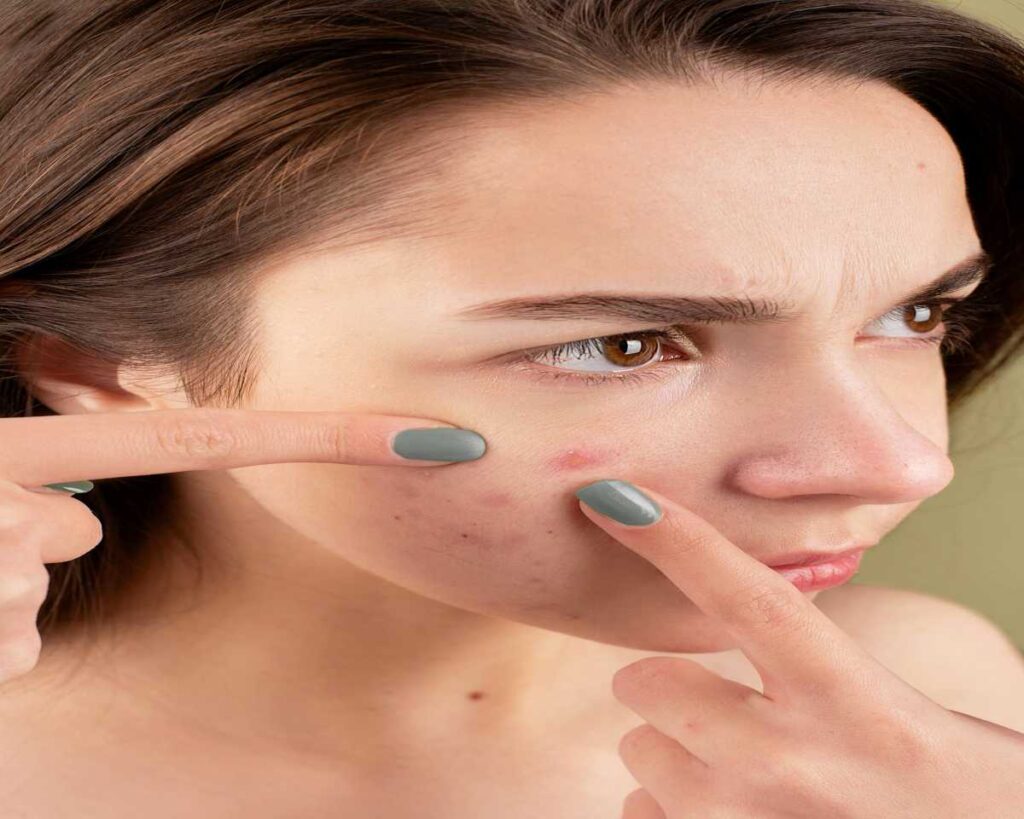
Because charcoal soap deeply cleanses and detoxifies the skin, it’s a powerful tool in the fight against acne. It can help prevent and reduce acne breakouts by unclogging pores, removing excess oil, and eliminating acne-causing bacteria. Additionally, its exfoliating properties help in fading acne scars over time. The soap also calms down inflammation and redness associated with acne, leaving you with clearer, more even-toned skin.

5. Suits All Skin Types

Whether you have oily, dry, combination, or sensitive skin, charcoal soap can work for you. For oily skin, it helps control sebum; for dry skin, it locks in moisture after drawing out impurities. People with sensitive skin benefit from its gentle, non-abrasive formula, as it doesn’t typically cause irritation. It’s also ideal for combination skin, as it can help balance different areas of your face, addressing oiliness and dryness simultaneously.

6. Anti-Aging Benefits

Charcoal soap not only cleanses but also promotes smoother and firmer skin by helping to reduce the appearance of wrinkles, fine lines, and sagging skin. The soap’s detoxifying and exfoliating properties encourage cell renewal, making your skin look youthful and refreshed over time.

7. Soothes Skin Conditions

Charcoal soap can also help alleviate symptoms of certain skin conditions, such as eczema and psoriasis. Its ability to calm down inflammation and reduce itching makes it a great choice for those suffering from skin irritations. Additionally, it helps to remove dead skin cells that can build up with these conditions, making the skin feel less rough and irritated.

8. Minimizes the Appearance of Pores

Large pores can make your skin look uneven and lead to more oil production and blemishes. Charcoal soap works to reduce the size of your pores by pulling out dirt and impurities that cause them to become enlarged. Regular use of charcoal soap can help you achieve a smoother, more refined complexion.

9. Removes Toxins

Our skin is exposed to toxins and pollutants every day from the environment, whether from smog, dust, or chemicals in the air. Charcoal soap acts as a detoxifying agent, removing these harmful particles and promoting healthier skin.

How to Use Charcoal Soap in Your Routine

To enjoy the full benefits of charcoal soap, simply lather it between your hands or onto a washcloth and gently apply it to your face and body. Massage the lather onto your skin in circular motions for about 30 seconds before rinsing thoroughly with water. Be sure to follow up with a moisturizer to keep your skin hydrated.

Conclusion

Charcoal soap offers a natural and effective way to cleanse, detoxify, and rejuvenate your skin. Its ability to treat acne, reduce oiliness, and minimize pores makes it a skincare essential, while its gentle exfoliation and anti-aging benefits make it suitable for all skin types. By incorporating charcoal soap into your daily routine, you’ll enjoy a clearer, smoother, and more radiant complexion in no time!

Olive Oil Benefits for the Skin

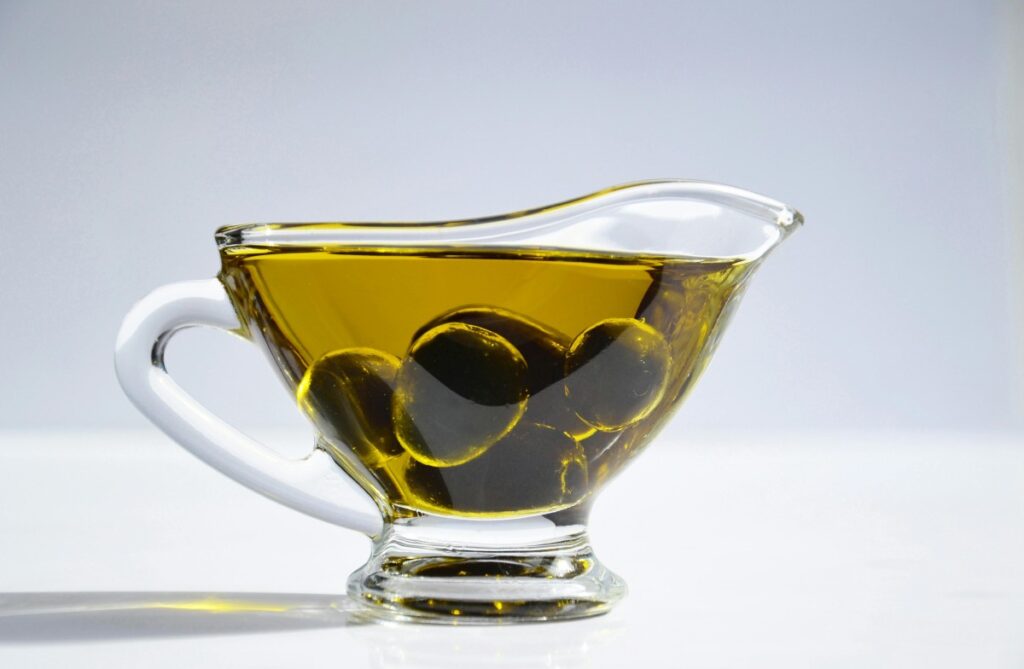
Olive oil has been cherished for centuries as a key ingredient in skincare routines, thanks to its numerous health benefits. Rich in antioxidants, vitamins, and essential fatty acids, olive oil nourishes the skin deeply, providing moisture and protection from environmental stressors. Let’s explore the top benefits of olive oil for the skin and how to incorporate it into your skincare routine.

1. Rich in Antioxidants

Olive oil is packed with antioxidants, particularly vitamin E and polyphenols, which protect the skin from oxidative damage caused by free radicals. Free radicals, which result from environmental pollution, UV rays, and stress, can lead to premature aging, wrinkles, and fine lines. Antioxidants in olive oil neutralize these free radicals, helping the skin maintain its youthful appearance.

How to Use:

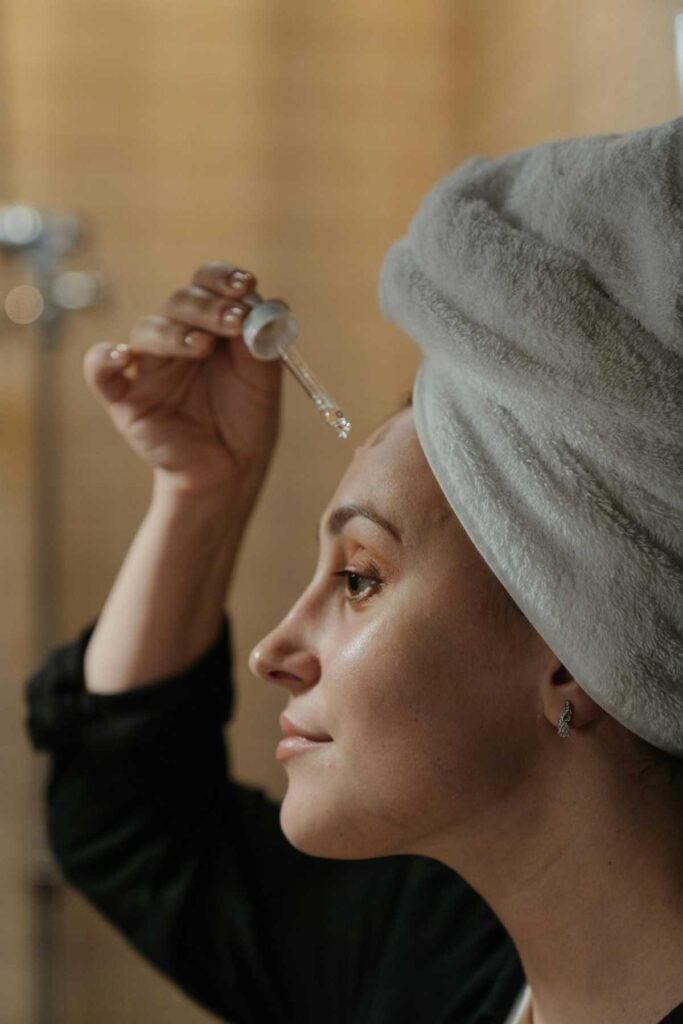
  • Apply a few drops of extra virgin olive oil to your face as a serum before bed.
  • Mix olive oil with a carrier oil like jojoba for an antioxidant-rich face oil.

2. Intensely Hydrating

One of the standout qualities of olive oil is its ability to deeply hydrate and nourish the skin. It acts as an occlusive, meaning it locks moisture into the skin by creating a protective barrier. This makes olive oil ideal for dry, flaky skin and areas prone to roughness, such as elbows and knees.

How to Use:

  • Use olive oil as a moisturizer by massaging a small amount into damp skin after bathing.
  • Add a few drops of olive oil to your body lotion to boost its hydrating effects.

3. Anti-Inflammatory Properties

Olive oil contains compounds like oleocanthal, which have anti-inflammatory properties. These compounds can help soothe irritated, red, or inflamed skin. It’s particularly useful for people with sensitive skin conditions such as eczema, psoriasis, or rosacea.

How to Use:

  • Gently apply olive oil to affected areas to reduce irritation and inflammation.
  • Mix olive oil with aloe vera gel for an even more soothing treatment.

4. Supports Skin Barrier Repair

The skin’s barrier is essential for protecting against environmental irritants and preventing water loss. Olive oil is rich in essential fatty acids, particularly oleic acid, which helps strengthen the skin’s natural lipid barrier. This promotes better moisture retention and supports the healing of damaged skin.

How to Use:

  • Use olive oil as a night-time skin treatment by applying it to your face and leaving it overnight for intensive barrier repair.
  • Combine olive oil with shea butter to create a nourishing balm for dry or damaged areas.

5. Promotes Skin Regeneration

The vitamins and antioxidants in olive oil not only protect the skin but also encourage skin cell turnover. Regular use of olive oil can help in the regeneration of skin cells, improving skin texture and promoting healing from minor scars or blemishes.

How to Use:

  • Massage olive oil onto your face in circular motions to stimulate circulation and support regeneration.
  • Use it on stretch marks or small scars to improve their appearance over time.

6. Natural Makeup Remover

Olive oil is an excellent, gentle makeup remover. It effectively breaks down makeup, including waterproof mascara and eyeliner, without stripping the skin of its natural oils. Its moisturizing properties also ensure that your skin remains soft and supple after cleansing.

How to Use:

  • Apply a small amount of olive oil to a cotton pad and gently wipe away makeup.
  • Rinse with lukewarm water or use a mild cleanser for a clean finish.

7. Fights Signs of Aging

Olive oil’s rich content of vitamins A, D, E, and K can help reduce visible signs of aging. These nutrients nourish the skin, improve elasticity, and help reduce the appearance of fine lines and wrinkles. The combination of hydration, antioxidants, and nourishment makes olive oil a powerful anti-aging treatment.

How to Use:

  • Apply olive oil around the eyes and mouth, where fine lines and wrinkles tend to form.
  • Create a natural anti-aging mask by mixing olive oil with honey and applying it to your face for 15 minutes before rinsing off.

8. Protects Against UV Damage

While olive oil is not a substitute for sunscreen, it can help repair skin after sun exposure. The antioxidants and vitamin E in olive oil help to reduce the damage caused by UV rays, such as sunburn or pigmentation.

How to Use:

  • Apply olive oil to sun-exposed areas to soothe and moisturize the skin after being in the sun.
  • Use it as a base for homemade after-sun lotions or creams.

Conclusion

Olive oil is a versatile and natural ingredient that offers immense benefits for the skin. Whether you’re looking to hydrate, protect, or rejuvenate your skin, olive oil can be an excellent addition to your skincare routine. By incorporating it into your daily regimen, you can enjoy softer, more radiant, and healthier skin. Always opt for extra virgin olive oil to get the most out of its natural properties, and patch test before applying it to sensitive areas of the skin.

How To Use Hydrogen Peroxide To Remove Blackheads?

Using hydrogen peroxide to remove blackheads can be an effective home remedy when done carefully and in moderation. Blackheads are caused by clogged pores filled with excess oil, dead skin cells, and dirt. Hydrogen peroxide helps by disinfecting the skin, drying out the oil, and gently exfoliating, which can clear out blackheads over time. However, it is important to use hydrogen peroxide correctly to avoid skin irritation or damage.

Here’s a step-by-step guide on how to use hydrogen peroxide to remove blackheads:

Step 1: Cleanse Your Face

Before applying hydrogen peroxide, it’s essential to start with a clean surface to remove any dirt, makeup, or excess oil.

  • Use a gentle facial cleanser suited to your skin type.
  • Wash your face with warm water to open up the pores, making it easier for the treatment to penetrate the blackheads.
  • Pat your skin dry with a soft, clean towel.

Step 2: Exfoliate the Skin

Exfoliation helps remove dead skin cells and can make the blackhead removal process more effective.

  • Use a mild exfoliator or a soft washcloth to gently rub your skin in circular motions, focusing on areas with blackheads (usually the nose, chin, and forehead).
  • Rinse your face with lukewarm water and pat dry.

Step 3: Prepare Hydrogen Peroxide Solution

Use 3% hydrogen peroxide, which is safe for skin application. Higher concentrations can be too strong and may cause irritation or burns.

  • Dilute the hydrogen peroxide slightly with water if you have sensitive skin.
  • Mix 1 part hydrogen peroxide with 1 part water in a small container for a gentler solution.

Step 4: Apply Hydrogen Peroxide

  • Soak a cotton ball or cotton swab in the diluted hydrogen peroxide solution.
  • Gently apply the hydrogen peroxide to the areas with blackheads (commonly on the T-zone: nose, forehead, and chin). Be careful not to over-saturate the cotton or leave the solution on the skin for too long.
  • Let it sit for 2–5 minutes, depending on your skin’s sensitivity.

Step 5: Rinse Thoroughly

  • After leaving the hydrogen peroxide on for a few minutes, rinse your face thoroughly with cool water to remove any residue.
  • This step is crucial to avoid over-drying your skin or causing irritation.

Step 6: Moisturize

Hydrogen peroxide can dry out the skin, so it’s important to follow up with a moisturizer.

  • Use a non-comedogenic, oil-free moisturizer that won’t clog your pores.
  • Look for one that contains ingredients like hyaluronic acid or aloe vera, which help soothe and hydrate the skin.

Step 7: Repeat Sparingly

  • You can use hydrogen peroxide to treat blackheads 1–2 times a week, but no more than that, as overuse can irritate the skin.
  • Always monitor how your skin reacts to the treatment and stop use if you notice excessive dryness, redness, or irritation.

Precautions When Using Hydrogen Peroxide

  • Patch test: Before applying hydrogen peroxide to your face, do a patch test on a small area of skin (like your forearm) to ensure you don’t have an allergic reaction.
  • Avoid sensitive areas: Don’t apply hydrogen peroxide near your eyes, mouth, or on broken skin.
  • Limit sun exposure: Hydrogen peroxide can make your skin more sensitive to sunlight, so be sure to apply sunscreen if you plan to go outside after the treatment.

Alternative Treatments for Blackheads

If you find hydrogen peroxide too harsh, consider these alternative remedies:

  • Salicylic acid: This is a beta hydroxy acid that penetrates the pores and dissolves the oils and dead skin cells that lead to blackheads.
  • Clay masks: Clay masks absorb excess oil from the skin and can help reduce blackheads over time.
  • Exfoliating scrubs: Regular exfoliation with gentle scrubs helps remove dead skin cells and prevents blackheads from forming.

Conclusion

Using hydrogen peroxide to remove blackheads can be effective, but it requires careful application and moderation to avoid irritation. Follow these steps to treat your blackheads safely, and always monitor how your skin responds. If you have sensitive or acne-prone skin, consider consulting a dermatologist before using hydrogen peroxide or any other home remedies for blackheads.

9 Best Home Remedies for Flaky Skin and Prevention Tips

Flaky skin can be a frustrating condition, often leading to discomfort, irritation, and an uneven skin texture. Whether caused by dry weather, harsh skincare products, or underlying skin conditions like eczema or psoriasis, flaky skin can make it difficult to feel comfortable in your own skin. Fortunately, there are many natural home remedies that can help soothe and hydrate your skin, restoring its softness and health. Here’s a guide to the best home remedies for flaky skin and tips for prevention.

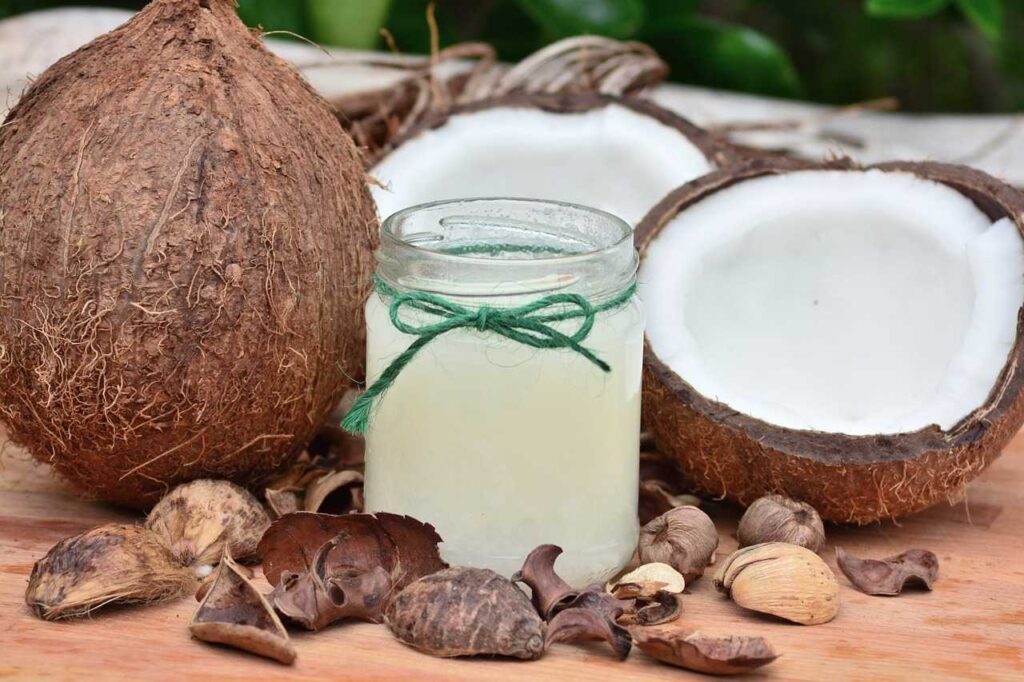
1. Coconut Oil: Deep Hydration and Soothing Relief

Why it works: Coconut oil is a powerhouse when it comes to moisturizing the skin. Rich in fatty acids, it penetrates deeply into the skin, helping to lock in moisture and prevent further dryness. It also has anti-inflammatory properties that can soothe irritation and redness.

How to use it:

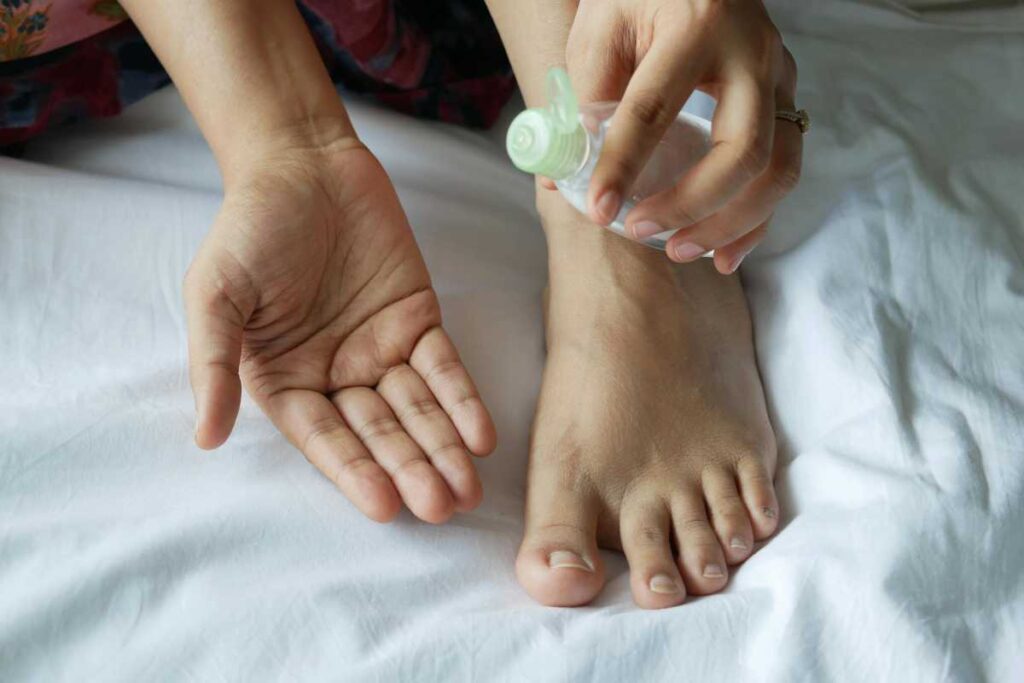
  • Gently warm a small amount of coconut oil in your hands and apply it to the affected areas of your skin.
  • Massage it in and leave it on for 20–30 minutes before rinsing off with lukewarm water.
  • Alternatively, you can apply it overnight and rinse in the morning for deeper hydration.

Bonus tip: For sensitive skin, test a small patch before applying coconut oil to larger areas to ensure you don’t have an allergic reaction.

2. Honey: Natural Moisturizer with Healing Properties

Why it works: Honey is a natural humectant, meaning it draws moisture from the air into your skin. Its antimicrobial and antioxidant properties also make it a fantastic remedy for flaky skin, helping to keep the skin healthy and hydrated.

How to use it:

  • Apply raw honey directly to dry, flaky areas and leave it on for 15–20 minutes.
  • Rinse off with lukewarm water.
  • Alternatively, mix honey with yogurt for a hydrating face mask.

Bonus tip: For extra moisture, mix honey with coconut oil or olive oil for an enhanced treatment.

3. Aloe Vera: Cooling and Moisturizing

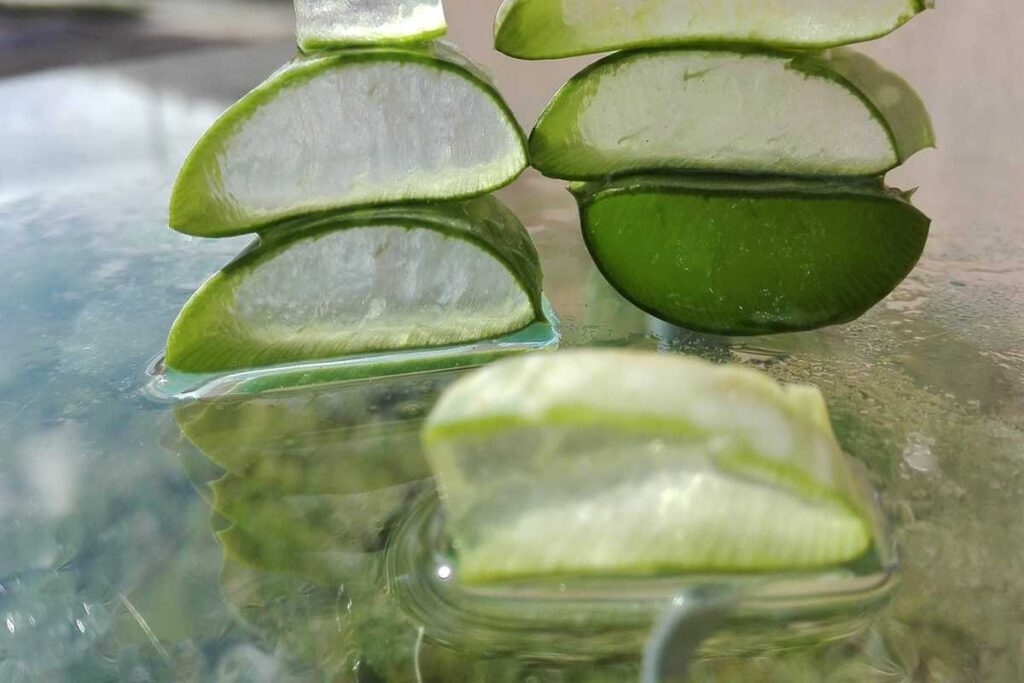
Why it works: Aloe vera is known for its soothing and healing properties. It helps reduce redness and irritation while deeply moisturizing dry, flaky skin. It’s particularly effective for soothing sunburns, but it can also help with chronic dryness.

How to use it:

  • Extract fresh aloe vera gel from the plant and apply it to the affected skin.
  • Leave it on for 20–30 minutes, then rinse off with lukewarm water.
  • For ongoing relief, apply aloe vera gel before bedtime and leave it on overnight.

Bonus tip: Aloe vera gel is also great for calming itchy skin and promoting skin regeneration.

4. Oatmeal: Gentle Exfoliation and Moisture

Why it works: Oatmeal is a soothing, anti-inflammatory ingredient that helps calm dry and flaky skin. It provides gentle exfoliation and hydration, making it perfect for sensitive and irritated skin.

How to use it:

  • Add finely ground oatmeal to your bathwater and soak for 15–20 minutes. This will help relieve dryness and inflammation.
  • You can also make an oatmeal paste by mixing oatmeal with water or milk and applying it to flaky skin for 15–20 minutes before rinsing off.

Bonus tip: Oatmeal can also be used to create a gentle exfoliating scrub when mixed with honey or yogurt.

5. Olive Oil: Rich in Antioxidants and Healthy Fats

Why it works: Olive oil is loaded with antioxidants and healthy fats, which work together to nourish and hydrate the skin. It helps to repair and protect the skin barrier, preventing moisture loss and restoring skin softness.

How to use it:

  • Massage a small amount of extra virgin olive oil onto your skin before bed.
  • Leave it on overnight for deep hydration, or use it as a daily moisturizer.

Bonus tip: For an extra nourishing treatment, mix olive oil with honey and apply it as a hydrating mask.

6. Avocado: Rich in Healthy Fats and Vitamins

Why it works: Avocados are rich in healthy fats, vitamins (especially vitamin E and K), and antioxidants that can help hydrate and repair dry, flaky skin. They also contain compounds that can help soothe inflammation and improve skin elasticity.

How to use it:

  • Mash a ripe avocado and apply it directly to your skin as a face or body mask.
  • Leave it on for 20 minutes, then rinse off with lukewarm water.
  • For extra hydration, mix avocado with honey or yogurt.

Bonus tip: You can also consume avocado regularly as part of your diet to benefit from its skin-healing properties.

7. Shea Butter: Deeply Moisturizing and Nourishing

Why it works: Shea butter is a rich, natural fat that deeply moisturizes and nourishes the skin. It’s packed with vitamins A and E, both of which help improve skin elasticity and hydration. It also helps protect the skin from environmental damage.

How to use it:

  • Gently melt shea butter and apply it to the flaky areas of your skin.
  • Leave it on for 30 minutes, or use it as an overnight treatment for deep hydration.

Bonus tip: Shea butter is excellent for treating dry patches on elbows, knees, and feet.

8. Milk and Honey Bath: Soothing and Moisturizing

Why it works: Both milk and honey are natural moisturizers that provide relief to flaky skin. Milk contains lactic acid, which gently exfoliates the skin and helps improve its texture. Honey, as mentioned earlier, locks in moisture and has healing properties.

How to use it:

  • Add 1-2 cups of whole milk and 1-2 tablespoons of honey to a warm bath.
  • Soak in the bath for 20-30 minutes to soothe and hydrate your skin.

Bonus tip: For sensitive skin, ensure the water temperature is warm (not hot) to avoid irritation.

9. Tea Tree Oil: Natural Antiseptic and Anti-inflammatory

Why it works: Tea tree oil is known for its antimicrobial and anti-inflammatory properties. It helps soothe dry, flaky skin caused by conditions like eczema or psoriasis, and can help reduce redness and irritation.

How to use it:

  • Dilute tea tree oil with a carrier oil, such as coconut or jojoba oil (use about 1-2 drops of tea tree oil per tablespoon of carrier oil).
  • Apply the mixture to flaky areas, but avoid using it on broken skin.

Bonus tip: Tea tree oil is particularly helpful for flaky skin that’s caused by fungal infections or irritations.


Prevention Tips for Flaky Skin

While home remedies can provide relief from flaky skin, preventing the problem is just as important. Here are some helpful tips to keep your skin healthy and moisturized:

  1. Hydrate from the Inside Out: Drink plenty of water throughout the day to keep your skin hydrated. When your body is properly hydrated, your skin will be better equipped to retain moisture.
  2. Moisturize Regularly: Apply a good-quality moisturizer after showering while your skin is still damp. This will help lock in moisture and prevent dryness.
  3. Avoid Hot Showers: Hot water can strip your skin of its natural oils, making it dry and flaky. Opt for lukewarm water when bathing or showering.
  4. Use Gentle, Non-Irritating Skincare Products: Avoid harsh soaps and skincare products that can irritate and dry out your skin. Choose products that are fragrance-free and contain nourishing ingredients like shea butter, hyaluronic acid, and ceramides.
  5. Protect Your Skin from Harsh Weather: Cold or dry weather can exacerbate flaky skin. Use a humidifier in your home during winter and protect your skin with scarves, gloves, or appropriate clothing.
  6. Exfoliate Gently: Regular exfoliation can help remove dead skin cells and prevent flakes. Use a gentle exfoliator or a mild scrub made of natural ingredients like oatmeal or sugar. Avoid over-exfoliating, as this can irritate the skin.
  7. Diet Matters: Incorporate foods rich in healthy fats, vitamins, and antioxidants into your diet, such as avocados, nuts, and oily fish. These foods support skin health and hydration from within.

Conclusion

Flaky skin can be a sign of dryness, irritation, or underlying skin conditions, but with the right home remedies and prevention techniques, you can soothe and restore your skin’s natural moisture. Whether using coconut oil for deep hydration, honey for its healing properties, or avocado for nourishment, these remedies can help reduce flakes and improve your skin’s overall appearance. By also adopting healthy lifestyle habits like drinking enough water, moisturizing regularly, and protecting your skin from harsh conditions, you can keep your skin soft, smooth, and free of flakes all year round.

7 Amazing Benefits of Hot Oil Manicure

A hot oil manicure is a luxurious and nourishing treatment for your hands and nails that involves soaking your fingers in warm oil. This technique not only beautifies your nails but also promotes overall hand health. Here are seven amazing benefits of incorporating hot oil manicures into your self-care routine:


1. Deep Moisturization

One of the primary benefits of a hot oil manicure is deep moisturization. The warmth of the oil helps to open up pores and allows for better absorption of nutrients. Oils such as jojoba, almond, or olive are often used, providing intense hydration to dry, brittle nails and cuticles.

2. Improved Nail Health

Regular hot oil treatments can strengthen your nails, making them less prone to breakage and splitting. The nourishing properties of the oils promote healthier nail growth, resulting in stronger and more resilient nails over time.

3. Enhanced Cuticle Care

Hot oil manicures soften the cuticles, making them easier to push back or trim. This treatment can prevent painful hangnails and promote healthy cuticle growth. Healthy cuticles contribute to the overall appearance of your nails, giving them a polished and well-groomed look.

4. Relaxation and Stress Relief

The soothing nature of warm oil helps to relax the muscles in your hands and fingers, providing a calming experience. This can reduce stress and tension, making it a perfect self-care ritual. Pairing the hot oil treatment with a gentle massage enhances relaxation, creating a spa-like experience at home.

5. Increased Blood Circulation

The warmth from the hot oil stimulates blood flow to the hands and nails, promoting circulation. Improved blood circulation can lead to better nutrient delivery to the nails, enhancing their overall health and appearance. It can also help in reducing cold hands and improving skin tone.

6. Gentle Exfoliation

Many hot oil manicures include a gentle exfoliation step to remove dead skin cells. This can be done using sugar or salt scrubs, which, combined with the oil, helps to slough off rough skin and reveal softer, smoother hands. Exfoliation is crucial for maintaining healthy skin and can enhance the effectiveness of the oil treatment.

7. Customization Options

Hot oil manicures can be customized to suit your specific needs. You can choose from a variety of oils infused with essential oils for added benefits, such as lavender for relaxation or tea tree oil for its antiseptic properties. Personalizing your manicure allows you to target specific skin concerns and preferences.


Conclusion

A hot oil manicure is more than just a beauty treatment; it’s a holistic approach to nail and hand care that promotes relaxation, hydration, and overall well-being. With benefits like deep moisturization, improved nail health, and enhanced cuticle care, it’s a perfect addition to your self-care routine. Whether you visit a salon or enjoy this treatment at home, the advantages of a hot oil manicure can leave your hands looking and feeling rejuvenated. Treat yourself to this luxurious experience, and your hands will thank you!

White Spots on Teeth: 3 Effective Ways to Get Rid of Them

White spots on your teeth can be frustrating and may make you feel self-conscious about your smile. These spots are often a sign of enamel demineralization, where minerals are lost from the surface of your teeth, leading to a noticeable discoloration. While they are generally harmless, they can be a sign of early tooth decay or other dental issues. Fortunately, there are several effective ways to treat and reduce the appearance of white spots on teeth. In this article, we’ll explore three key methods for getting rid of white spots and improving the overall health of your smile.

1. Remineralization with Fluoride

Why it works: Fluoride is a powerful mineral that helps restore lost minerals in your tooth enamel, essentially “remineralizing” it. This process can reduce the appearance of white spots, strengthen the enamel, and help prevent further damage or decay.

How to use it:

  • Fluoride toothpaste: Switch to a fluoride-rich toothpaste. Brush your teeth twice daily using a fluoride toothpaste, which will help remineralize the enamel over time and diminish the appearance of white spots.
  • Fluoride mouth rinse: You can use a fluoride mouth rinse in addition to toothpaste to help further strengthen your enamel. Look for a mouthwash that contains sodium fluoride or stannous fluoride.
  • Professional fluoride treatments: If white spots are persistent or severe, your dentist may apply a concentrated fluoride gel or varnish directly to your teeth. This treatment helps accelerate remineralization and can make a significant difference in reducing white spots.

Bonus tip: Avoid rinsing your mouth immediately after using fluoride toothpaste to allow the fluoride to stay on your teeth longer for maximum benefit.

2. Microabrasion Treatment

Why it works: Microabrasion is a cosmetic dental procedure that involves gently removing a thin layer of the outer enamel to smooth out the surface and diminish the appearance of white spots. It’s a non-invasive treatment that helps to blend the white spots with the surrounding enamel.

How to use it:

  • Consult a dentist: Microabrasion is performed by a dentist or dental hygienist. They apply a mild abrasive compound (usually a mixture of hydrochloric acid and pumice) to the affected areas of your teeth, gently polishing away the surface layer of enamel.
  • Results: This treatment can significantly improve the appearance of white spots, especially if they are caused by superficial demineralization. After the procedure, your teeth will look smoother and more uniform in color.

Bonus tip: Microabrasion can be used in combination with fluoride treatment to help restore enamel strength and improve the overall health of your teeth.

3. Veneers or Tooth Bonding

Why it works: For more severe cases of white spots or when other treatments haven’t worked, dental veneers or bonding can be used to cover the affected areas and give your teeth a uniform, natural look. This method is more of a cosmetic solution, providing immediate and long-lasting results.

How to use it:

  • Veneers: Dental veneers are thin, custom-made shells that cover the front surface of your teeth. They are a popular solution for improving the appearance of teeth with white spots, as they effectively conceal discoloration and create a smooth, bright smile. Veneers are durable and stain-resistant.
  • Bonding: Dental bonding involves applying a tooth-colored resin to the affected area of the tooth. This resin is shaped to match the natural contours of your teeth and then hardened with a special light. Bonding is generally quicker and more affordable than veneers, although it may not last as long.

Bonus tip: Both veneers and bonding require a consultation with a dentist to determine if you are a good candidate. If you have extensive tooth damage or decay, these treatments might not be suitable without addressing those issues first.


Other Helpful Tips for Preventing White Spots on Teeth

While treatments can help get rid of white spots, prevention is key to maintaining the health of your teeth and avoiding future spots. Here are a few tips to help you keep your teeth looking their best:

  1. Brush and floss regularly: Brushing with fluoride toothpaste twice a day and flossing daily helps remove plaque and prevent the buildup of acids that can demineralize your teeth.
  2. Avoid acidic foods and drinks: Citrus fruits, soda, wine, and other acidic foods can erode your enamel and exacerbate the appearance of white spots. If you consume these, rinse your mouth with water afterward.
  3. Drink plenty of water: Drinking water throughout the day helps rinse away food particles and acids that could damage your enamel.
  4. Limit sugary snacks and drinks: Sugar feeds harmful bacteria in the mouth, which produce acids that can erode your enamel and cause white spots.
  5. Visit your dentist regularly: Routine dental checkups allow your dentist to detect issues like white spots early and offer guidance on treatment options before the condition worsens.

Conclusion

White spots on your teeth can be a sign of early enamel damage, but with the right treatment, you can reduce their appearance and prevent further dental problems. Whether you use fluoride to remineralize your teeth, undergo microabrasion, or opt for cosmetic treatments like veneers or bonding, there are several ways to address white spots and regain a confident smile. Additionally, maintaining good oral hygiene and avoiding foods that erode enamel can help prevent white spots from returning.

If you’re concerned about white spots or other dental issues, it’s always a good idea to consult your dentist for personalized advice and treatment options.

How To Stop Snoring: 6 Home Remedies and Medications

Snoring is a common issue that can affect anyone, but it can be especially troublesome for your partner or anyone who shares your sleeping space. Snoring occurs when the flow of air through the mouth and nose is partially obstructed, leading to vibrations in the throat. While snoring is generally harmless, it can indicate an underlying health issue such as sleep apnea. Fortunately, there are several home remedies and medications that can help stop snoring and improve your sleep quality.

Here’s a breakdown of effective ways to reduce or eliminate snoring:

1. Change Your Sleep Position

Why it works: Sleeping on your back can cause your tongue and soft tissues in the throat to collapse, leading to airway blockage and snoring. Sleeping on your side helps keep your airway open and can significantly reduce snoring.

How to use it:

  • Side Sleeping: Try to sleep on your side rather than your back. You can use a body pillow to maintain this position throughout the night.
  • Avoid Back Sleeping: If you tend to roll over onto your back while sleeping, place a tennis ball or other object in the back of your pajama top to help prevent it.

Bonus tip: There are special pillows designed to keep your head and neck aligned, which can help reduce snoring.

2. Use Nasal Strips or a Nasal Dilator

Why it works: Nasal congestion is a major cause of snoring, as it restricts airflow through your nose. Nasal strips or dilators can open up your nasal passages, allowing air to flow more freely and reducing the likelihood of snoring.

How to use it:

  • Nasal Strips: These adhesive strips are placed on the outside of your nose and work by physically pulling open the nostrils.
  • Nasal Dilators: These small devices fit inside your nostrils and help keep the nasal passages open.

Bonus tip: Use a saline nasal spray before bed to help reduce nasal congestion and make it easier to breathe through your nose.

3. Stay Hydrated

Why it works: When your body is dehydrated, the secretions in your nose and soft palate become stickier, leading to increased snoring. Staying hydrated ensures that these tissues remain moist and flexible, reducing the vibrations that cause snoring.

How to use it:

  • Drink plenty of water throughout the day, especially in the hours leading up to bedtime.
  • Avoid alcohol and caffeine in the evening, as they can cause dehydration and worsen snoring.

Bonus tip: Keep a glass of water by your bedside and take a sip if you wake up during the night.

4. Elevate Your Head While Sleeping

Why it works: Elevating your head can help reduce snoring by preventing the tongue and soft tissues in your throat from collapsing and obstructing your airway. This position helps maintain an open airway, allowing for smoother airflow.

How to use it:

  • Raise the head of your bed by using extra pillows or an adjustable bed. Aim to elevate your head by about 30 degrees.
  • If using pillows, place one under your head and another under your shoulders to achieve the right angle.

Bonus tip: Using a wedge pillow specifically designed for snoring can provide the right elevation without straining your neck.

5. Treat Allergies and Nasal Congestion

Why it works: Allergies and nasal congestion can force you to breathe through your mouth, which can lead to snoring. Addressing these issues can help keep your airways open and reduce the likelihood of snoring.

How to use it:

  • Allergy Medications: Over-the-counter antihistamines like loratadine or cetirizine can help reduce nasal congestion caused by allergies.
  • Nasal Sprays: Saline nasal sprays or decongestant sprays can relieve nasal congestion and make it easier to breathe through your nose.
  • Air Purifiers: Using an air purifier in your bedroom can help reduce allergens that may trigger nasal congestion.

Bonus tip: Try sleeping with a humidifier in your bedroom to prevent dry air from irritating your nasal passages.

6. Avoid Alcohol and Sedatives Before Bed

Why it works: Alcohol and sedatives relax the muscles of your throat, which can increase the likelihood of airway obstruction and snoring. By avoiding these substances in the evening, you can help keep your throat muscles firm and reduce snoring.

How to use it:

  • Avoid drinking alcohol or taking sedatives at least 3-4 hours before bedtime.
  • Opt for caffeine-free, non-alcoholic drinks if you need a nighttime beverage.

Bonus tip: Reducing overall alcohol consumption can improve both your sleep quality and your snoring.


Medications to Consider for Snoring

In addition to these home remedies, there are several over-the-counter medications and treatments that can help manage snoring:

1. Nasal Sprays

  • Decongestant Nasal Sprays: These sprays can help reduce swelling in the nasal passages, making it easier to breathe through your nose.
  • Saline Sprays: Saline sprays help moisturize dry nasal passages and thin out mucus, which can reduce snoring caused by nasal congestion.

2. Anti-Snoring Mouthpieces (Mandibular Advancement Devices)

  • These devices help reposition your lower jaw and tongue slightly forward to keep your airway open while you sleep. They are effective for people whose snoring is caused by mouth breathing or partial airway blockage in the throat.

3. Prescription Medications

  • If your snoring is associated with sleep apnea (a more serious condition), your doctor may prescribe medications to help manage your condition or recommend CPAP (Continuous Positive Airway Pressure) therapy.

4. Throat Sprays and Gargles

  • Some over-the-counter throat sprays are designed to lubricate the soft tissues of the throat, reducing snoring caused by throat dryness and vibration.

When to See a Doctor

While snoring is often harmless, there are times when it might indicate a more serious condition, such as obstructive sleep apnea. Here are signs that you should consult a doctor:

  • Loud, persistent snoring: If your snoring is loud and frequent, it could be a sign of sleep apnea.
  • Daytime fatigue: Feeling extremely tired during the day, even after a full night’s sleep, can indicate a lack of oxygen due to snoring.
  • Gasping for air or choking during sleep: These are serious signs of sleep apnea and should be addressed immediately.
  • Morning headaches: Chronic snoring can sometimes be linked to poor oxygen intake, which can lead to morning headaches.

Conclusion

Snoring is a common problem, but there are plenty of remedies and lifestyle changes that can help reduce or even eliminate it. From changing your sleeping position to using nasal strips or hydrating before bed, these tips can provide relief from snoring. However, if snoring is a regular occurrence and you’re experiencing symptoms like daytime sleepiness, loud snoring, or breathing interruptions during sleep, consult a healthcare professional. Addressing the root cause of snoring can help improve both your sleep and overall health.

8 Home Remedies for Bronchitis: How to Prevent & When to Worry

Bronchitis is an inflammation of the bronchial tubes, which carry air to and from your lungs. It can cause coughing, mucus production, shortness of breath, and wheezing. Acute bronchitis, usually caused by viruses like the flu or common cold, can be treated at home with self-care measures. However, chronic bronchitis, which is often linked to smoking or long-term exposure to irritants, requires medical attention.

If you’re dealing with acute bronchitis or looking for ways to alleviate symptoms of chronic bronchitis, several home remedies can help manage the condition. Alongside these remedies, it’s important to know when to seek medical help.

1. Stay Hydrated

Why it works: Drinking plenty of fluids helps thin out the mucus in your airways, making it easier to cough up and expel. Staying hydrated also helps keep your throat moist, reducing irritation and easing coughing.

How to use it:

  • Drink water, herbal teas, or broths regularly throughout the day.
  • Avoid caffeinated or alcoholic drinks as they can lead to dehydration.

Bonus tip: Warm water with honey and lemon can soothe the throat and reduce irritation.

2. Steam Inhalation

Why it works: Inhaling steam helps loosen up the mucus in your airways, easing the coughing and promoting better air flow. Steam also helps hydrate your respiratory system, reducing inflammation and congestion.

How to use it:

  • Boil water and carefully inhale the steam. You can do this by leaning over a bowl with a towel over your head to trap the steam.
  • Alternatively, take a hot shower and inhale the steam while in the bathroom.

Bonus tip: Add a few drops of eucalyptus oil to the steam to open up the airways and enhance relief.

3. Honey and Ginger

Why it works: Honey has natural antibacterial and anti-inflammatory properties, while ginger helps clear mucus from the respiratory system and soothes the throat. Both can help reduce coughing and irritation caused by bronchitis.

How to use it:

  • Mix 1 tablespoon of honey with 1/2 teaspoon of grated ginger. Drink this mixture 1–2 times a day.
  • You can also add ginger slices to hot water to make a soothing ginger tea.

Bonus tip: Honey can also be used on its own as a cough suppressant.

4. Turmeric and Milk

Why it works: Turmeric contains curcumin, which has powerful anti-inflammatory properties that help reduce inflammation in the bronchial tubes and ease the symptoms of bronchitis. Drinking turmeric milk can soothe the throat and reduce coughing.

How to use it:

  • Mix 1/2 teaspoon of turmeric powder into a glass of warm milk and drink it before bed.
  • You can also use turmeric in soups and stews to incorporate it into your diet.

Bonus tip: Turmeric can also be combined with honey and warm water for added relief.

5. Use a Humidifier

Why it works: Humidified air helps keep your throat and nasal passages moist, which can reduce irritation and help clear mucus. Dry air can exacerbate bronchitis symptoms, leading to more coughing and discomfort.

How to use it:

  • Place a humidifier in your bedroom or living room to maintain a comfortable level of moisture in the air.
  • Make sure to clean the humidifier regularly to prevent mold or bacteria buildup.

Bonus tip: Adding a few drops of essential oils like eucalyptus or lavender can further help open up the airways and promote relaxation.

6. Salt Water Gargle

Why it works: Gargling with warm salt water helps reduce throat inflammation and can soothe a scratchy or sore throat caused by coughing. Salt water also has mild antiseptic properties that can help reduce infection and clear mucus.

How to use it:

  • Mix 1/2 teaspoon of salt in a glass of warm water and gargle for 30 seconds.
  • Repeat this process 2-3 times per day to help alleviate throat discomfort.

Bonus tip: Add a pinch of baking soda to the mixture for extra soothing power.

7. Peppermint Tea

Why it works: Peppermint contains menthol, which acts as a natural decongestant. It can help open the airways, making it easier to breathe and reduce the cough reflex. Peppermint also has antibacterial properties that can help fight off infection.

How to use it:

  • Brew fresh peppermint leaves or use peppermint tea bags. Drink 2-3 cups a day.
  • You can also inhale peppermint steam by adding a few drops of peppermint oil to hot water.

Bonus tip: You can add honey or lemon to the tea for added benefits.

8. Rest and Elevate Your Head While Sleeping

Why it works: Rest is vital for recovery when dealing with bronchitis. Sleep helps your body fight off the infection or inflammation. Elevating your head while sleeping reduces mucus buildup and makes breathing easier.

How to use it:

  • Ensure you get enough rest each night, ideally 7-8 hours of uninterrupted sleep.
  • Sleep with your head elevated by using extra pillows or an adjustable bed to keep your airways open.

Bonus tip: Sleeping in a slightly elevated position can also reduce coughing at night, allowing for more restful sleep.


How to Prevent Bronchitis

While home remedies can provide relief, preventing bronchitis is the best way to manage and avoid recurrent episodes. Here are some preventive measures:

  1. Quit Smoking: Smoking is a leading cause of chronic bronchitis. Quitting smoking improves lung health and reduces the risk of developing bronchitis.
  2. Avoid Irritants: Try to avoid exposure to pollutants, chemicals, and secondhand smoke, which can irritate your lungs and increase your chances of developing bronchitis.
  3. Practice Good Hygiene: Wash your hands regularly, especially during flu season, to reduce the risk of catching viral infections that can lead to acute bronchitis.
  4. Get Vaccinated: The flu and pneumonia vaccines can help protect you from respiratory illnesses that may cause bronchitis.
  5. Stay Hydrated: Drinking plenty of fluids helps keep your respiratory system healthy and reduces mucus buildup.

When to Worry: Signs You Need Medical Help

While many cases of bronchitis can be treated at home, there are times when you should seek medical attention:

  • Persistent Cough: If your cough lasts longer than three weeks, it may be chronic bronchitis or another underlying condition.
  • High Fever: A fever above 100.4°F (38°C) that doesn’t improve with home treatment could indicate a bacterial infection requiring antibiotics.
  • Shortness of Breath: Difficulty breathing or a feeling of tightness in the chest is a serious symptom that requires immediate medical attention.
  • Blood in Mucus: If you notice blood in your mucus, seek medical advice right away.
  • Chest Pain: Severe chest pain or discomfort could indicate a more serious problem, such as pneumonia or even a heart condition.

Conclusion

Bronchitis can be uncomfortable, but with these natural remedies and preventive measures, you can alleviate your symptoms and manage the condition more effectively. If your symptoms persist or worsen, don’t hesitate to consult with a healthcare professional for further evaluation. Proper self-care, hydration, and rest, along with these remedies, can help you recover faster and reduce the risk of future episodes.