Red palm oil, derived from the fruit of the African palm tree, is a rich, nutrient-dense oil that has been used for centuries in both cooking and beauty treatments. In recent years, it has gained popularity as a natural remedy for hair care due to its ability to deeply nourish, repair, and promote healthy hair growth. In this guide, we’ll explore how to use red palm oil for your hair, its benefits, and some of the best methods to incorporate it into your routine.
1. Benefits of Red Palm Oil for Hair
Red palm oil is packed with essential vitamins, antioxidants, and fatty acids, all of which can have a positive impact on your hair. Here are some of the key benefits of using red palm oil for hair care:
1.1. Promotes Hair Growth
Red palm oil contains vitamin E, a potent antioxidant that helps improve circulation to the scalp, which can stimulate hair follicles and encourage hair growth. Additionally, the oil’s high levels of beta-carotene (which converts to vitamin A) promote scalp health by preventing dryness and flakiness.
- Why it helps: Improved circulation and scalp health create a better environment for hair growth, reducing hair thinning and promoting stronger, healthier strands.
1.2. Moisturizes and Hydrates Dry Hair
The fatty acids in red palm oil, including oleic and linoleic acids, help lock in moisture and keep hair hydrated. This is particularly beneficial for those with dry, brittle, or damaged hair.
- Why it helps: Red palm oil creates a moisture barrier that prevents hair from losing essential hydration, leading to soft, smooth, and manageable hair.
1.3. Adds Shine and Luster
Because red palm oil is rich in antioxidants and vitamins, it helps restore natural shine to the hair. The oil smooths the hair cuticle, making it reflect light and appear shinier.
- Why it helps: A smooth cuticle prevents dullness and frizz, leaving your hair with a healthy and glossy appearance.
1.4. Strengthens Hair and Prevents Breakage
Red palm oil helps strengthen hair from the roots to the tips due to its nutrient content, which includes essential vitamins such as A and E. Regular use can reduce hair breakage and split ends, making the hair appear thicker and healthier.
- Why it helps: The oil nourishes and strengthens individual strands, reducing the risk of breakage and improving overall hair resilience.
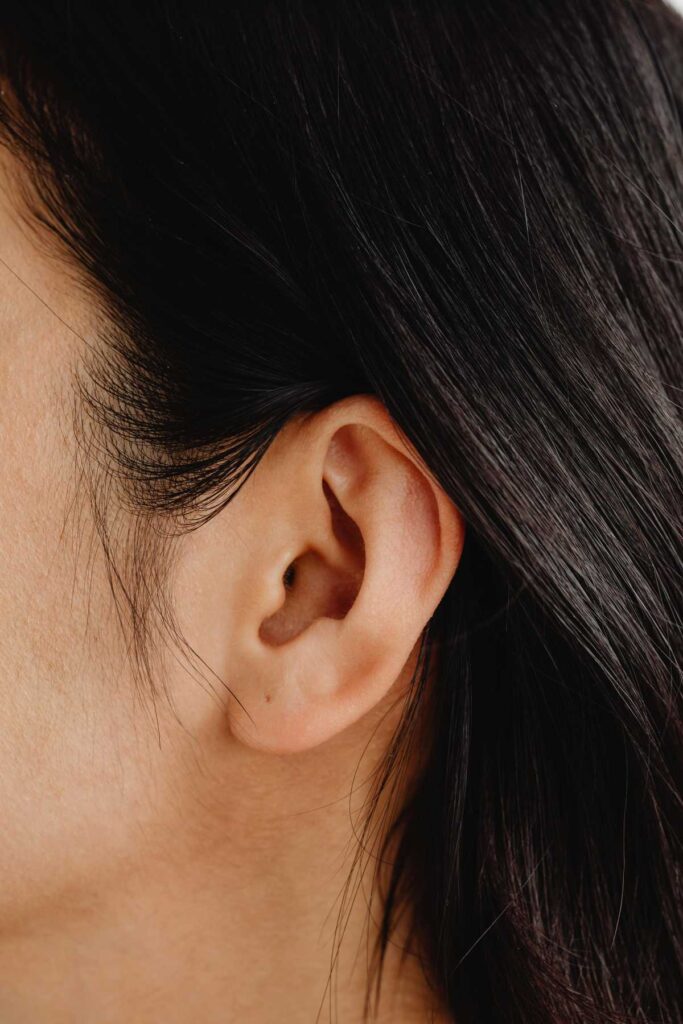
1.5. Scalp Health and Dandruff Control
Red palm oil’s high vitamin E content also helps keep the scalp healthy by reducing inflammation, soothing irritation, and preventing dandruff. Its anti-inflammatory properties promote a healthy scalp environment.
- Why it helps: A healthy scalp is essential for strong hair growth, and red palm oil’s moisturizing and soothing properties prevent scalp issues like dryness and dandruff.
2. How to Use Red Palm Oil for Your Hair
There are various ways to incorporate red palm oil into your hair care routine, depending on your specific hair concerns and goals. Here are some popular methods:
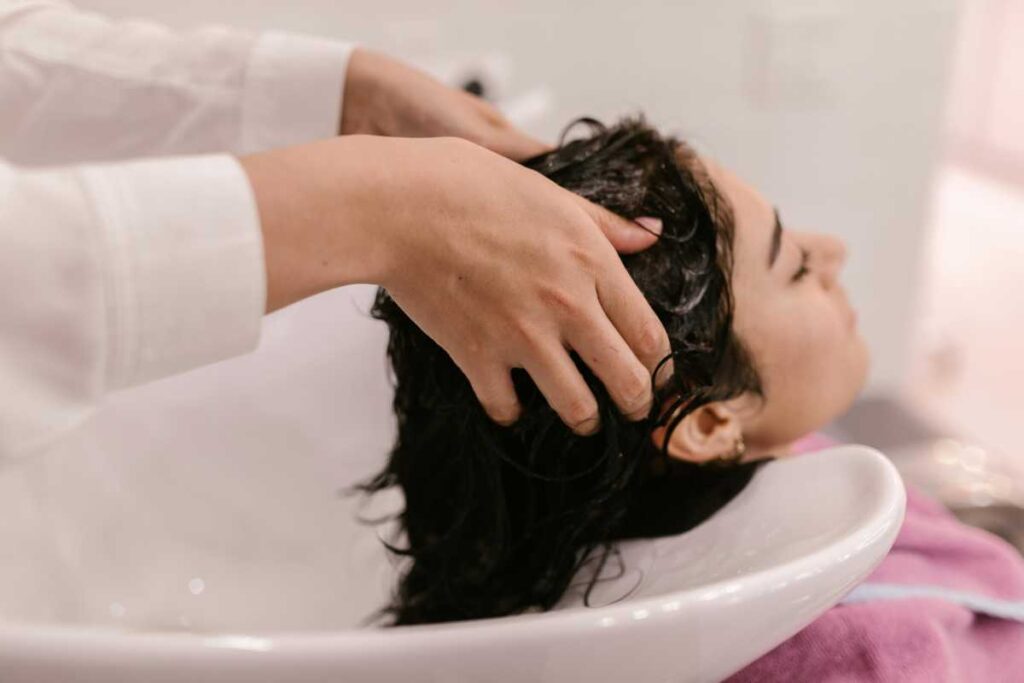
2.1. Red Palm Oil Hair Mask
A deep-conditioning hair mask is one of the most effective ways to treat dry, damaged, or brittle hair with red palm oil. The mask allows the oil to penetrate the hair shaft deeply and provide maximum nourishment.
- How to use:
- Warm a small amount of red palm oil (about 1-2 tablespoons, depending on your hair length) in a microwave or double boiler.
- Apply the oil evenly to damp hair, focusing on the ends.
- Massage the oil into your scalp to promote circulation.
- Cover your hair with a shower cap or towel, and leave the mask on for 20-30 minutes.
- Rinse thoroughly with lukewarm water and shampoo to remove the oil.
2.2. Scalp Treatment for Dandruff
If you have a dry, itchy, or flaky scalp, red palm oil can help soothe and hydrate the skin while reducing dandruff.
- How to use:
- Massage a small amount of red palm oil directly into your scalp using your fingertips.
- Gently massage for 5-10 minutes to stimulate blood flow and allow the oil to absorb.
- Leave it on for 20-30 minutes (or overnight for a more intense treatment).
- Wash your hair as usual with a mild shampoo.
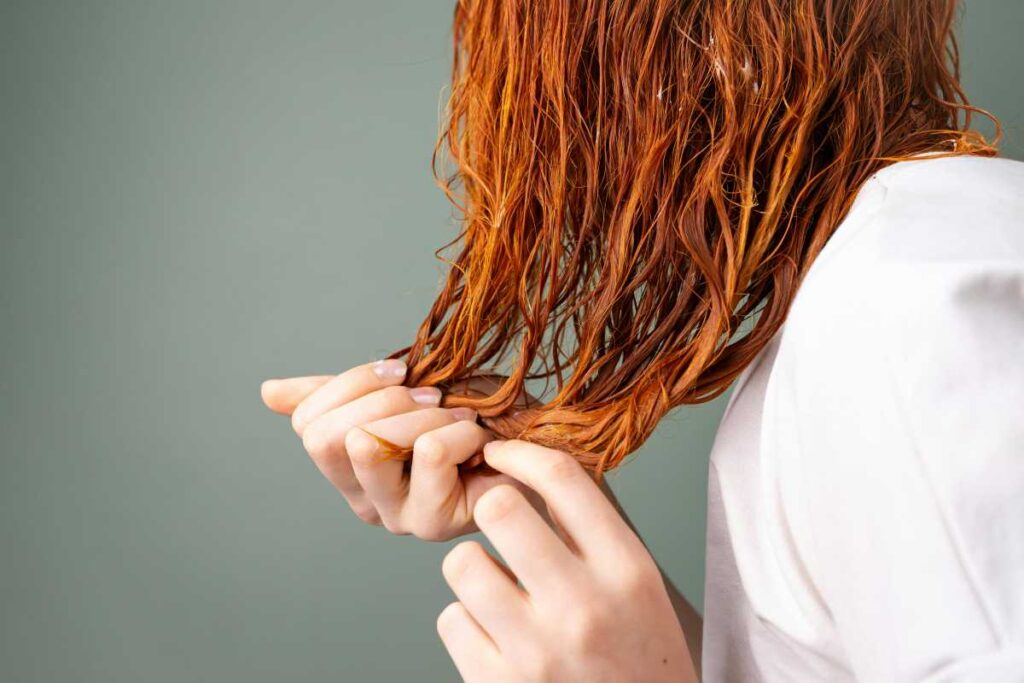
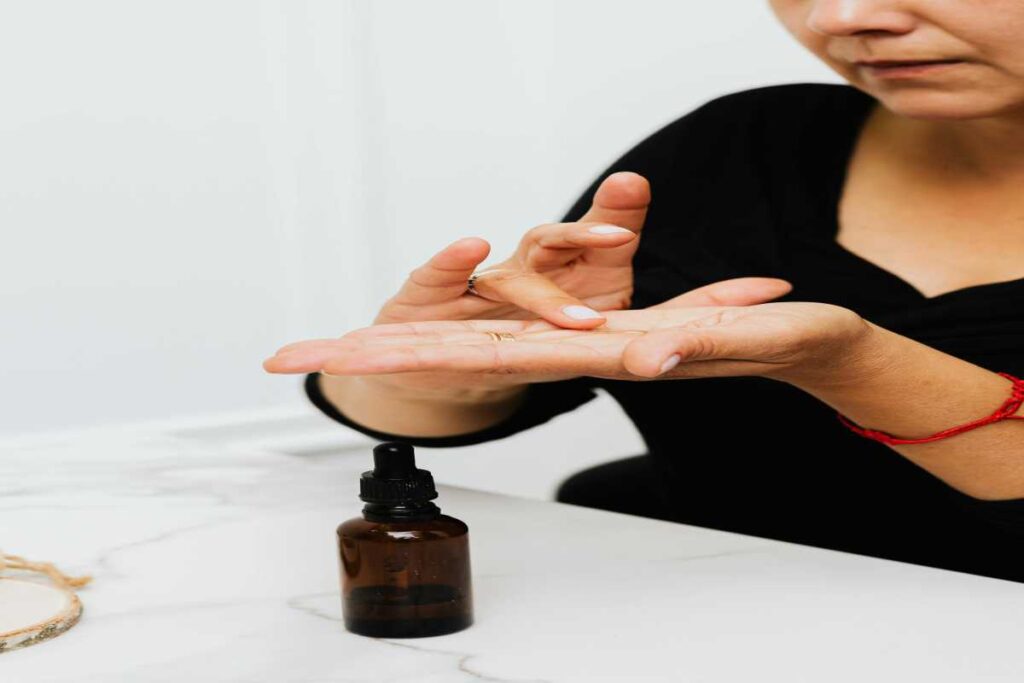
2.3. Leave-In Conditioner
For daily hair nourishment, you can use red palm oil as a leave-in conditioner to maintain moisture and prevent frizz.
- How to use:
- After washing and towel-drying your hair, apply a small amount of red palm oil to the ends of your hair, focusing on dry or damaged areas.
- Avoid applying too much oil to the scalp, as it can make your hair appear greasy.
- Style as usual. You can use this method daily or as needed to keep your hair hydrated and frizz-free.
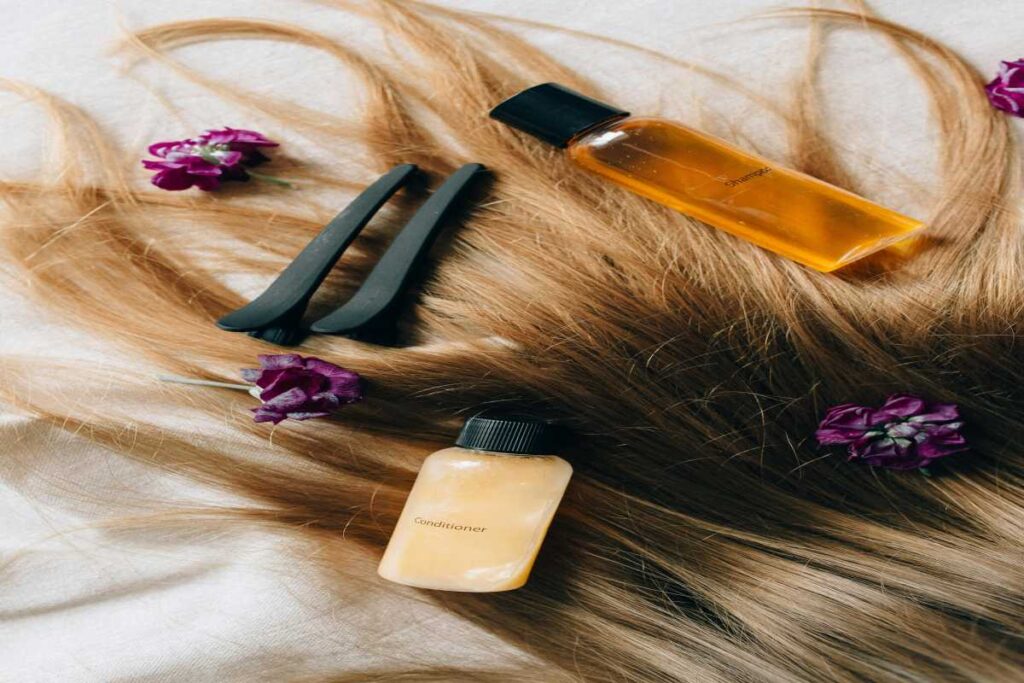
2.4. Red Palm Oil and Essential Oils Hair Treatment
For added benefits, you can combine red palm oil with other essential oils like rosemary, peppermint, or lavender. These oils have additional properties that can further support hair health.
- How to use:
- Mix a tablespoon of red palm oil with a few drops of your preferred essential oil(s).
- Apply the mixture to damp hair, focusing on the scalp and ends.
- Massage gently for 5-10 minutes to allow the oils to penetrate.
- Leave the mixture on for 20-30 minutes, then wash with shampoo.
3. Things to Keep in Mind
- Use in Moderation: While red palm oil is beneficial for hair, using too much can make your hair greasy. Start with a small amount and adjust as needed.
- Patch Test: Before using red palm oil on your scalp or hair for the first time, do a patch test to ensure you’re not allergic or sensitive to the oil.
- Consistency is Key: For the best results, use red palm oil treatments regularly to see noticeable improvements in your hair’s health and appearance.
4. Conclusion: Is Red Palm Oil Good for Your Hair?
Red palm oil is an incredibly nourishing ingredient that can provide a variety of benefits for your hair, from promoting growth and hydration to enhancing shine and preventing breakage. With its high levels of antioxidants, vitamins, and essential fatty acids, red palm oil can be an excellent natural remedy for dry, damaged, or thinning hair.
Whether used as a deep-conditioning mask, scalp treatment, or leave-in conditioner, red palm oil is a versatile and effective product to incorporate into your hair care routine. However, like any oil, it should be used in moderation, and it’s important to find the right amount for your hair type and needs.