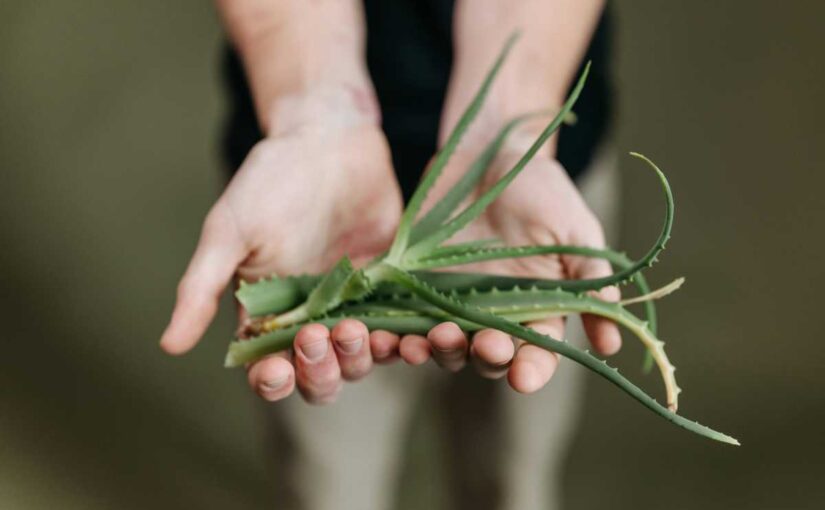
Making your own aloe vera soap at home is a rewarding and enjoyable process. Aloe vera is well-known for its soothing and moisturizing properties, making it an excellent addition to homemade soap. This guide will walk you through everything you need to know to create your own nourishing aloe vera soap.
Benefits of Aloe Vera in Soap
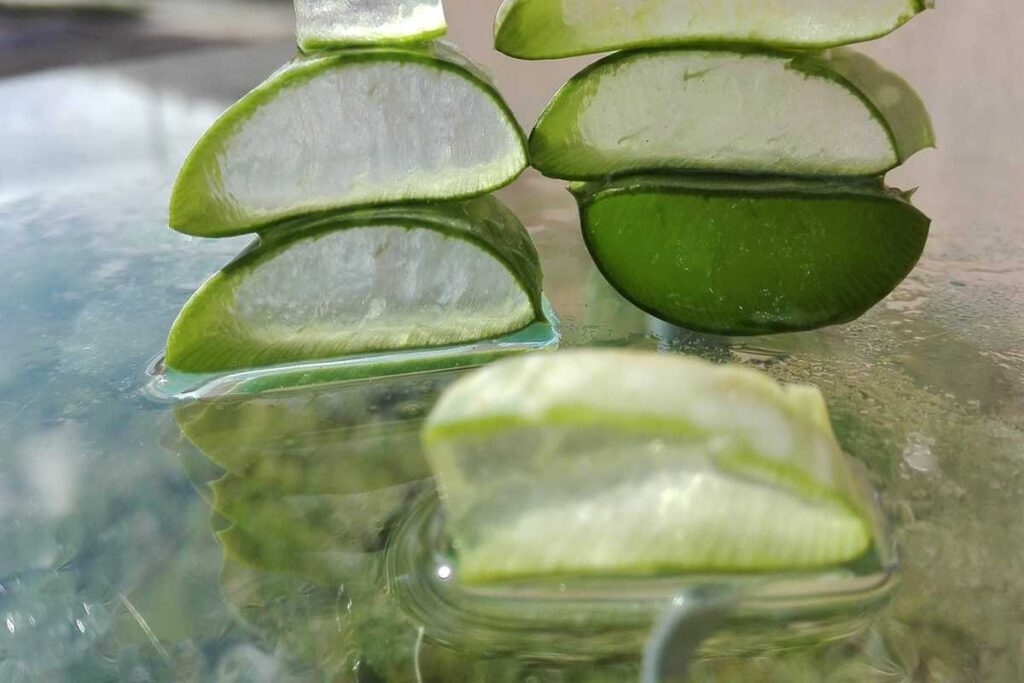
- Moisturizing: Aloe vera is rich in water content, making it an excellent natural moisturizer for your skin.
- Soothing Properties: It helps calm irritated skin and can be beneficial for conditions like sunburn and eczema.
- Rich in Nutrients: Aloe vera contains vitamins A, C, and E, which are essential for healthy skin.
- Antioxidant: It has antioxidant properties that help protect the skin from damage caused by free radicals.
- Gentle Cleansing: Aloe vera soap can cleanse the skin without stripping away natural oils.
Ingredients Needed
Basic Ingredients:
- Aloe Vera Gel: Freshly extracted from the aloe vera leaf or store-bought.
- Soap Base: You can use a melt-and-pour soap base (glycerin, shea butter, or goat milk).
- Essential Oils: For fragrance (optional) – consider lavender, tea tree, or peppermint.
- Colorants: Natural colorants like turmeric or spirulina (optional).
Equipment Needed:
- Soap molds (silicone molds work well)
- Mixing bowl
- Microwave-safe container or double boiler
- Stirring spoon or stick blender
- Knife (for cutting the soap base)
- Measuring spoons
- Safety goggles and gloves (if using lye)
Step-by-Step Instructions
Step 1: Prepare the Aloe Vera Gel
- Extracting Gel:
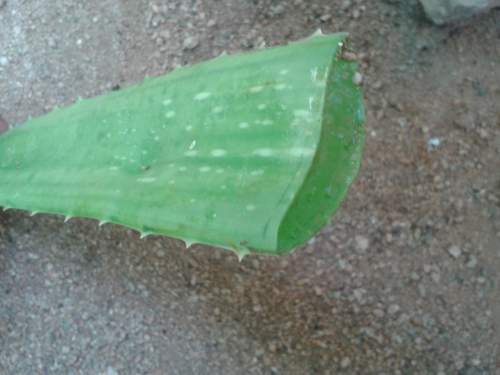
- Cut an aloe vera leaf from the plant.
- Slice it lengthwise and scoop out the clear gel using a spoon.
- Measure approximately 1/2 cup of fresh aloe vera gel for your soap.
Step 2: Melt the Soap Base
- Cut the Soap Base:
- Cut the melt-and-pour soap base into small cubes (about 1-inch).
- Melting:
- Place the soap base cubes into a microwave-safe container or double boiler.
- If using a microwave, heat in 30-second intervals, stirring in between, until fully melted. If using a double boiler, heat gently over low heat until melted.
Step 3: Mix in Aloe Vera Gel
- Combine:
- Once the soap base is melted, remove it from the heat and let it cool slightly (about 5 minutes).
- Add the prepared aloe vera gel into the melted soap base and stir well to combine.
- Essential Oils and Colorants:
- If desired, add essential oils and natural colorants at this stage. A few drops of essential oil should suffice, and you can adjust according to your preference.
Step 4: Pour into Molds
- Molding:
- Pour the mixture into soap molds. Fill them to the desired level, tapping the mold gently to remove any air bubbles.
- Cooling:
- Allow the soap to cool and harden completely at room temperature. This usually takes about 1-2 hours.
Step 5: Unmold and Store
- Unmolding:
- Once the soap is solid, gently pop it out of the molds. If you’re having difficulty, you can place the molds in the freezer for a few minutes to make the soap easier to remove.
- Storage:
- Store the finished aloe vera soap in an airtight container in a cool, dry place until you are ready to use it.
Tips for Customization
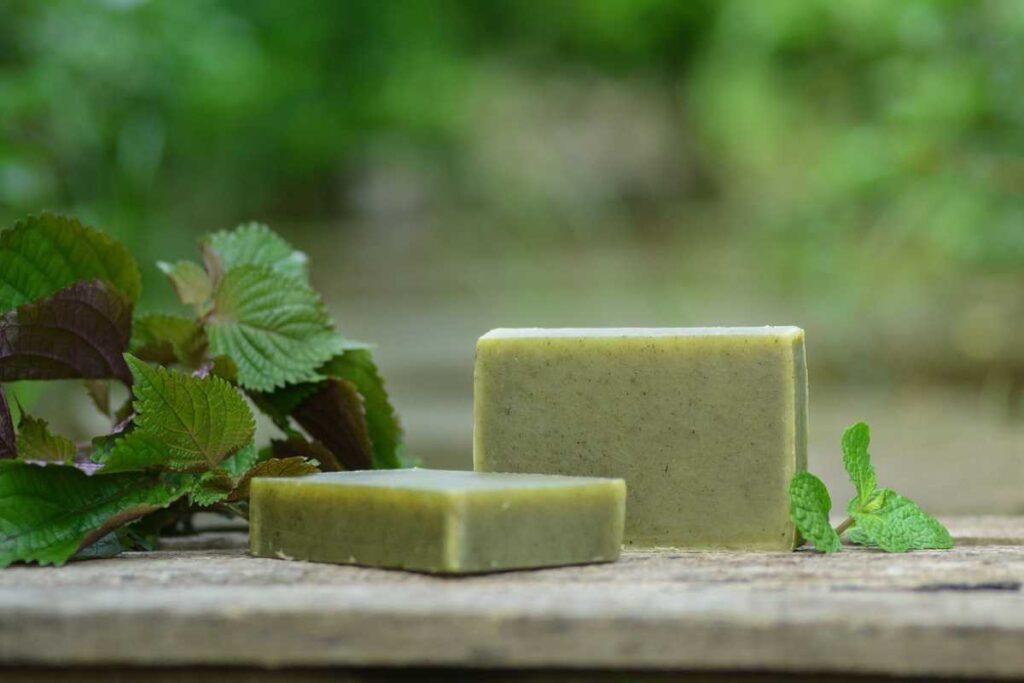
- Additives: Consider adding natural exfoliants like oatmeal or ground coffee for texture.
- Herbs and Flowers: Dried herbs (like lavender or chamomile) or flower petals can be added to enhance the visual appeal and therapeutic benefits.
- Packaging: If you plan to gift your soap, consider wrapping it in natural materials or placing it in a decorative box.
Conclusion
Making your own DIY aloe vera soap is a simple yet rewarding process. Not only does it allow you to create a product that’s free from harsh chemicals, but it also lets you enjoy the myriad benefits of aloe vera. This personalized soap can be a delightful addition to your skincare routine or a thoughtful gift for friends and family.
Feel free to experiment with different scents, colors, and ingredients to make your aloe vera soap unique! Enjoy the process and the benefits of your homemade creation!

